
Pan fried chicken livers are quick, bold, and seriously underrated.
I've been cooking this dish at home for years, and I know exactly what makes them turn out crispy on the outside and tender inside.
In this guide, you'll learn how to clean, coat, and fry chicken livers the right way.
I'll cover seasoning options, butter vs oil, onions, and the mistakes most people make. Every step here is tested and straightforward.
By the end, you'll feel confident making this dish from scratch.
What Are Pan Fried Chicken Livers?
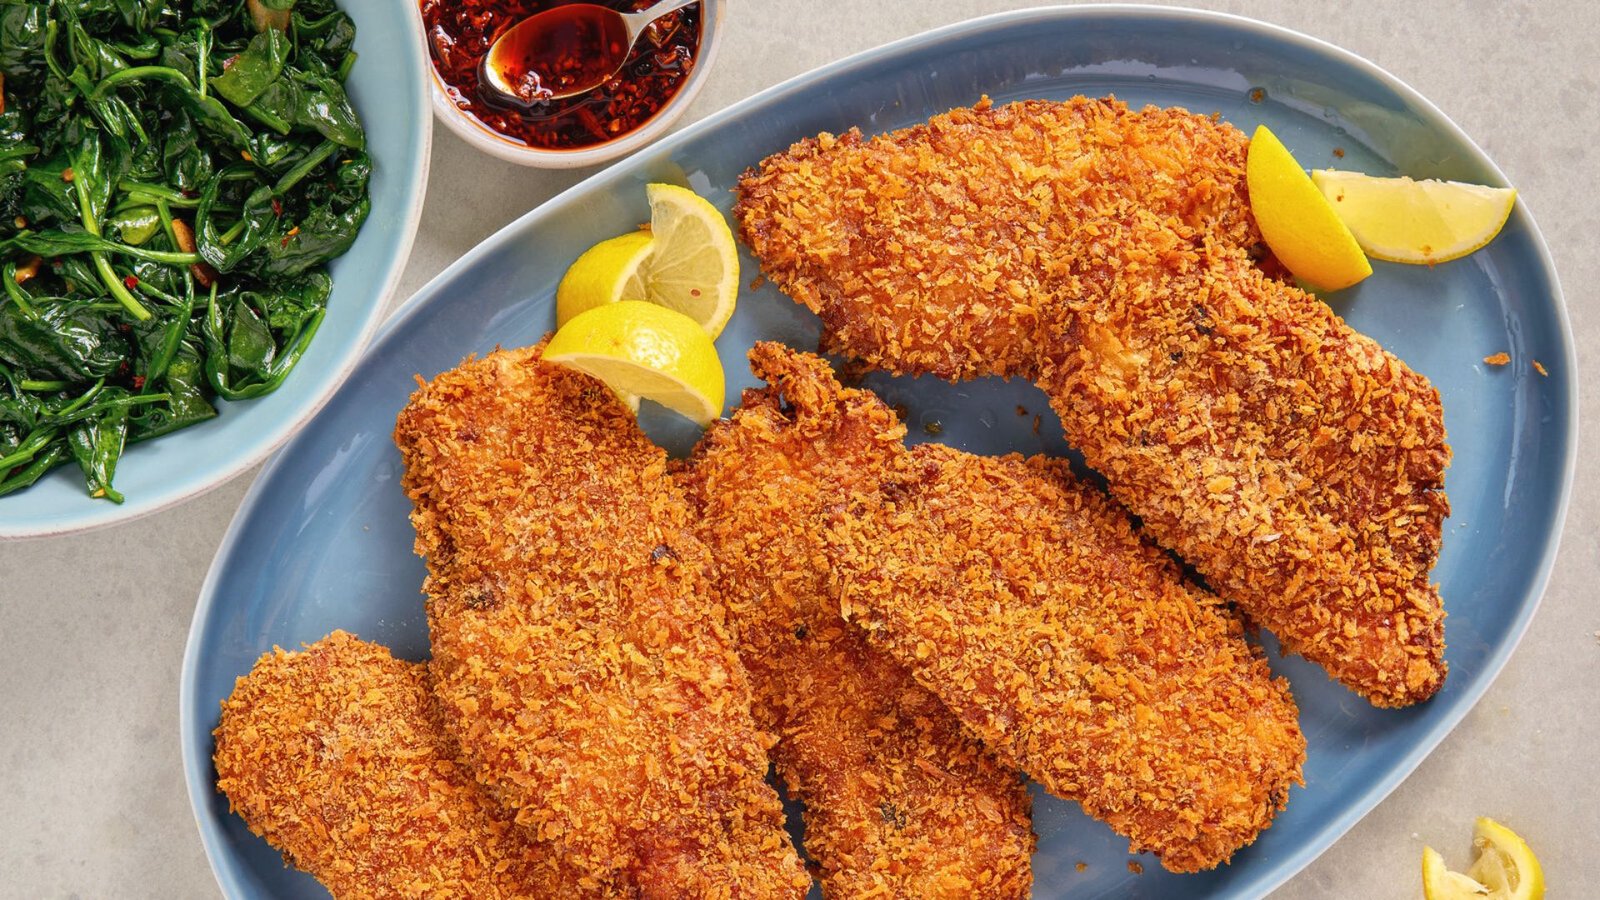
Pan fried chicken livers are fresh chicken livers coated in seasoned flour and cooked in a hot pan with oil or butter until golden and crispy.
The outside gets a light, crunchy crust while the inside stays soft and rich. The flavor is bold, savory, and deeply satisfying.
This dish has been a staple in Southern and home cooking for generations because it is fast, affordable, and very filling.
It works as a main meal or a starter and comes together in well under 20 minutes with simple everyday ingredients.
Ingredients for Pan Fried Chicken Livers
Here's everything you need to make this dish at home, from the basics to flavor boosters.
Basic Ingredients You Need

Chicken livers are the star of the dish. Around 1 pound of fresh livers is enough for a standard serving. You'll also need flour for coating, egg or milk to help the flour stick, and oil or butter for frying.
Optional Ingredients for More Flavor
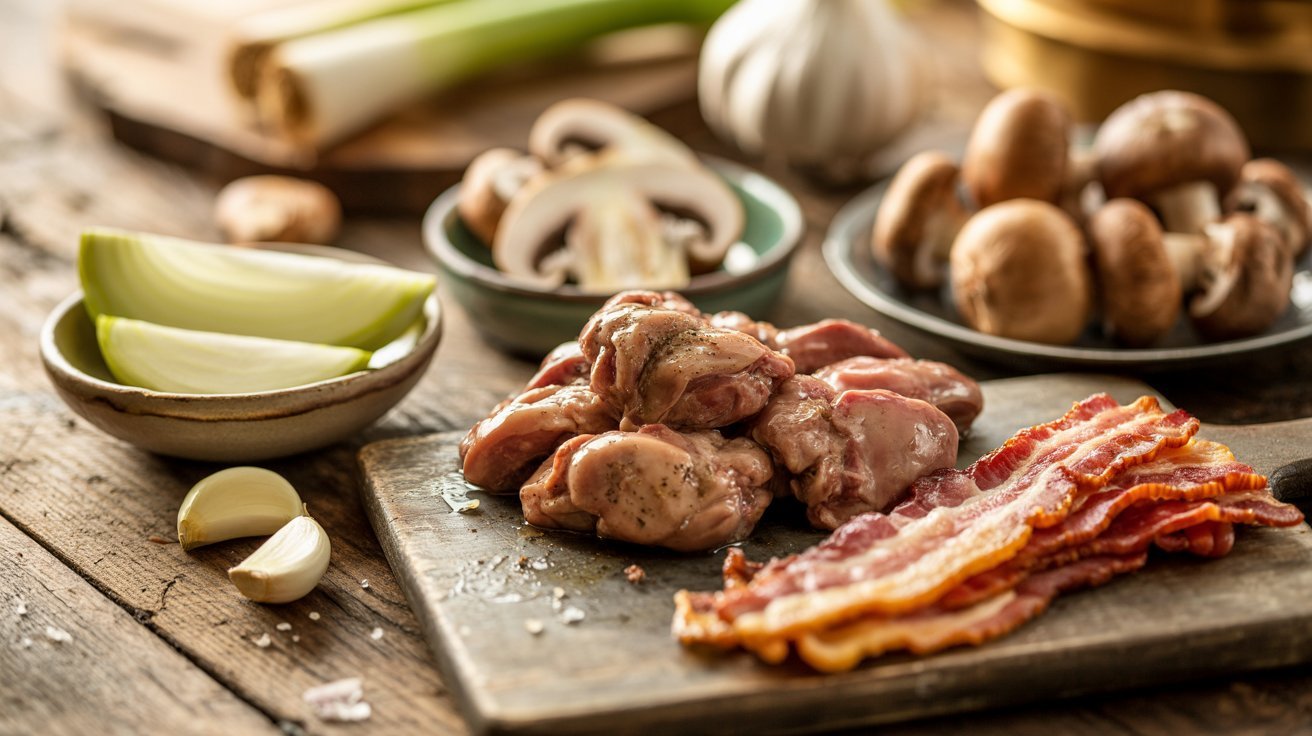
Garlic adds a deep, savory note to the dish. Onions are a classic pairing and work beautifully with pan fried chicken livers. Mushrooms and bacon are great additions if you want more richness and a smoky depth of flavor.
Seasoning Options
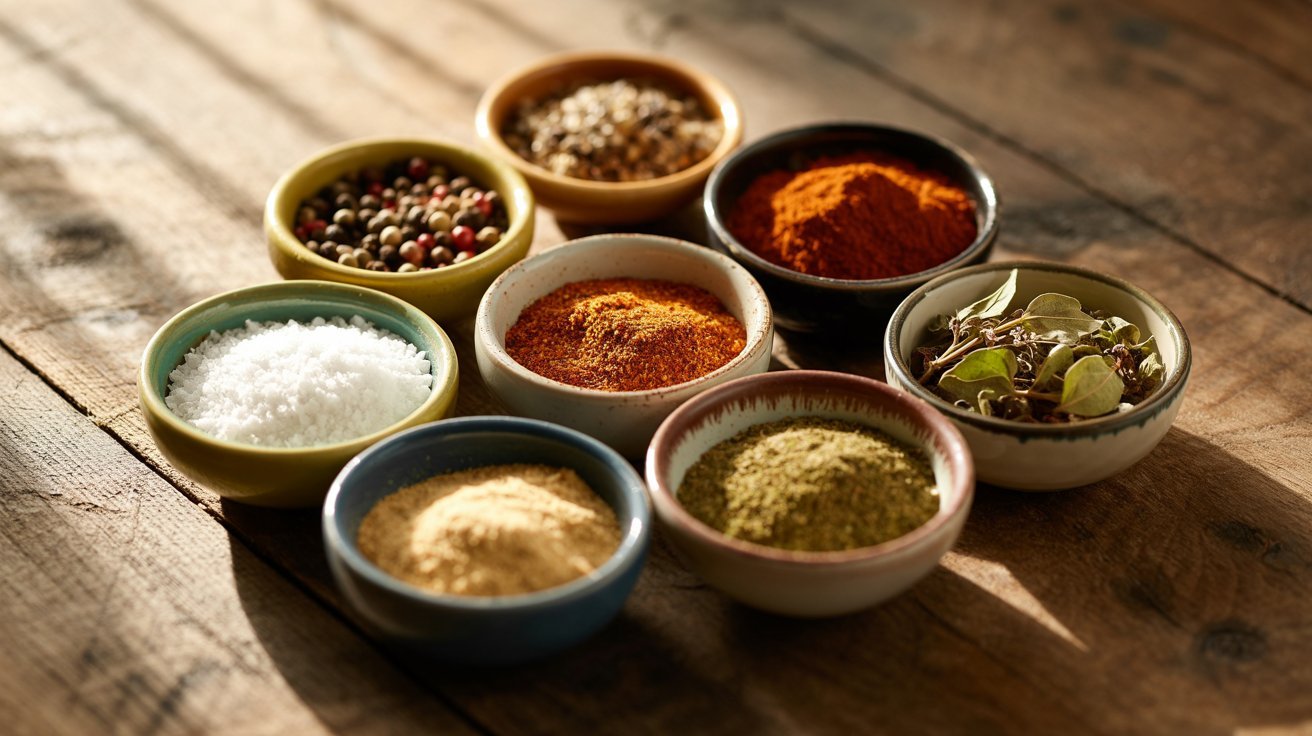
Salt and pepper go into the flour before coating. Paprika and garlic powder add color and a bit more depth to the crust. For a bolder kick, Cajun or Southern spice blends are a great fit.
How to Prepare Chicken Livers Before Cooking
Good prep makes the livers taste better, cook more evenly, and come out much more tender.
Cleaning and Trimming the Livers
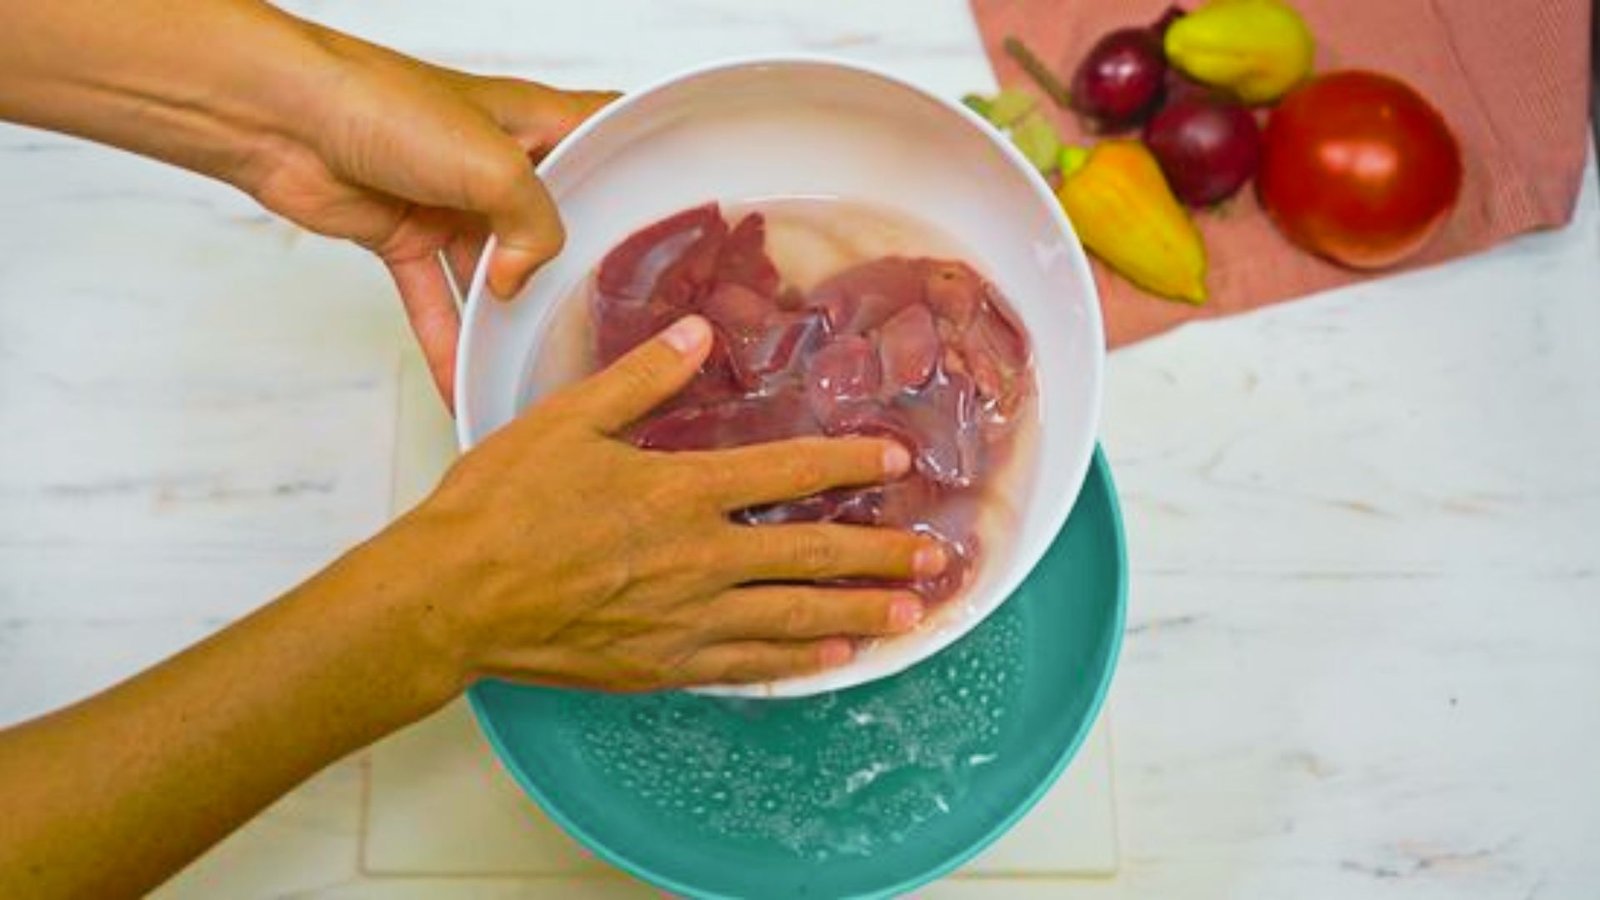
Rinse the livers under cold water and remove any green or yellow-tinged spots right away. Trim off fat and white connective tissue with a sharp knife.
Cut larger pieces in half so everything cooks evenly in the pan.
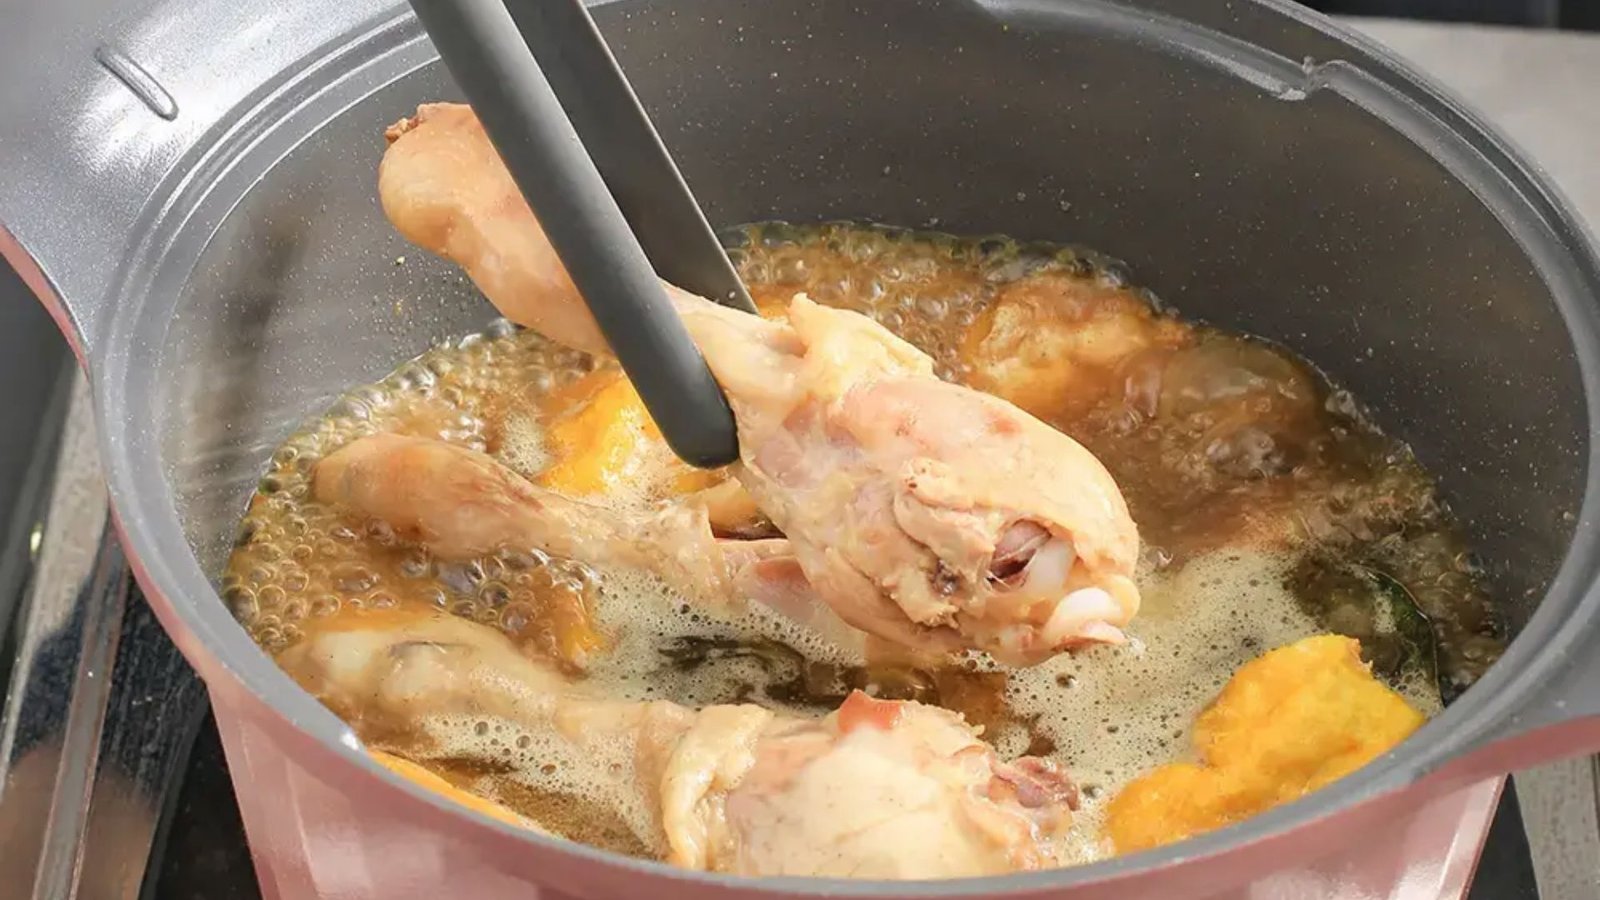
Soaking Chicken Livers in Milk
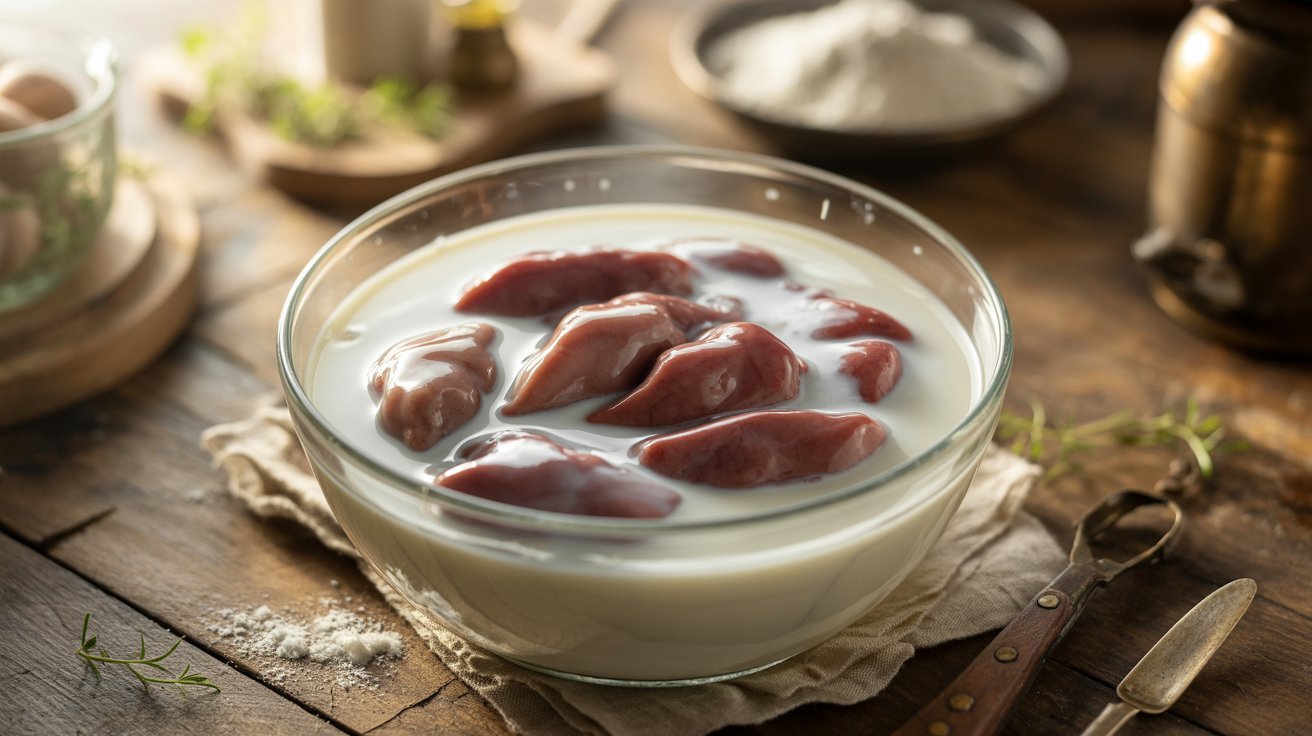
Place cleaned livers in a bowl, cover with milk, and let them soak for 30 minutes to 1 hour. The milk pulls out the bitter taste and softens the texture noticeably.
After soaking, drain and pat the livers dry before moving on to coating.
Pan Fried Chicken Livers: Step-by-Step Instructions
Follow these steps closely and you'll get crispy, juicy, perfectly cooked chicken livers every single time.
Step 1: Set Up Your Breading Station
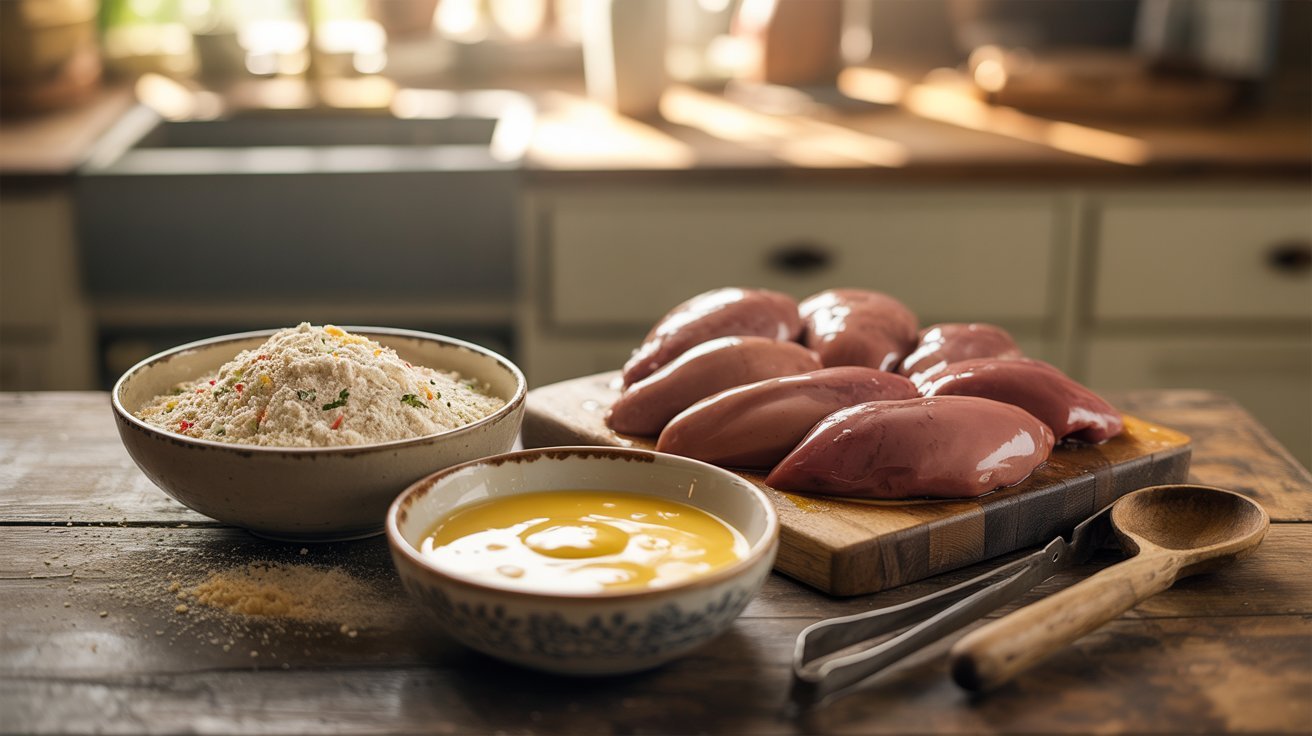
Add flour to a shallow bowl and season it with salt, pepper, paprika, and your preferred spices. In a second bowl, beat one egg or add a small amount of milk for the egg wash.
Having both ready before you start makes the whole process faster and cleaner.
Step 2 : Coat the Chicken Livers Properly
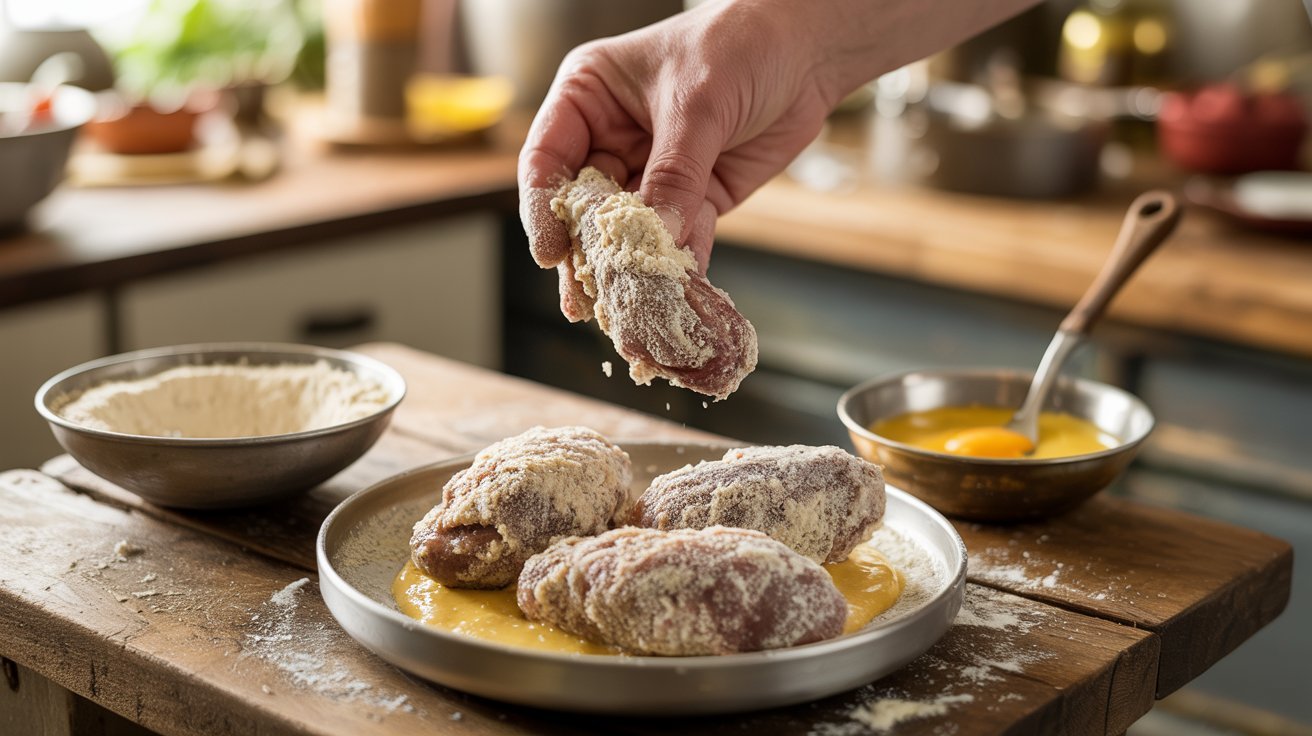
Press each liver into the seasoned flour, dip it into the egg wash, then press it back into the flour one more time.
This double coating builds a thicker, crunchier crust. Shake off any loose flour before setting the liver aside so it doesn't burn in the pan.
Step 3: Heat the Pan with Oil or Butter
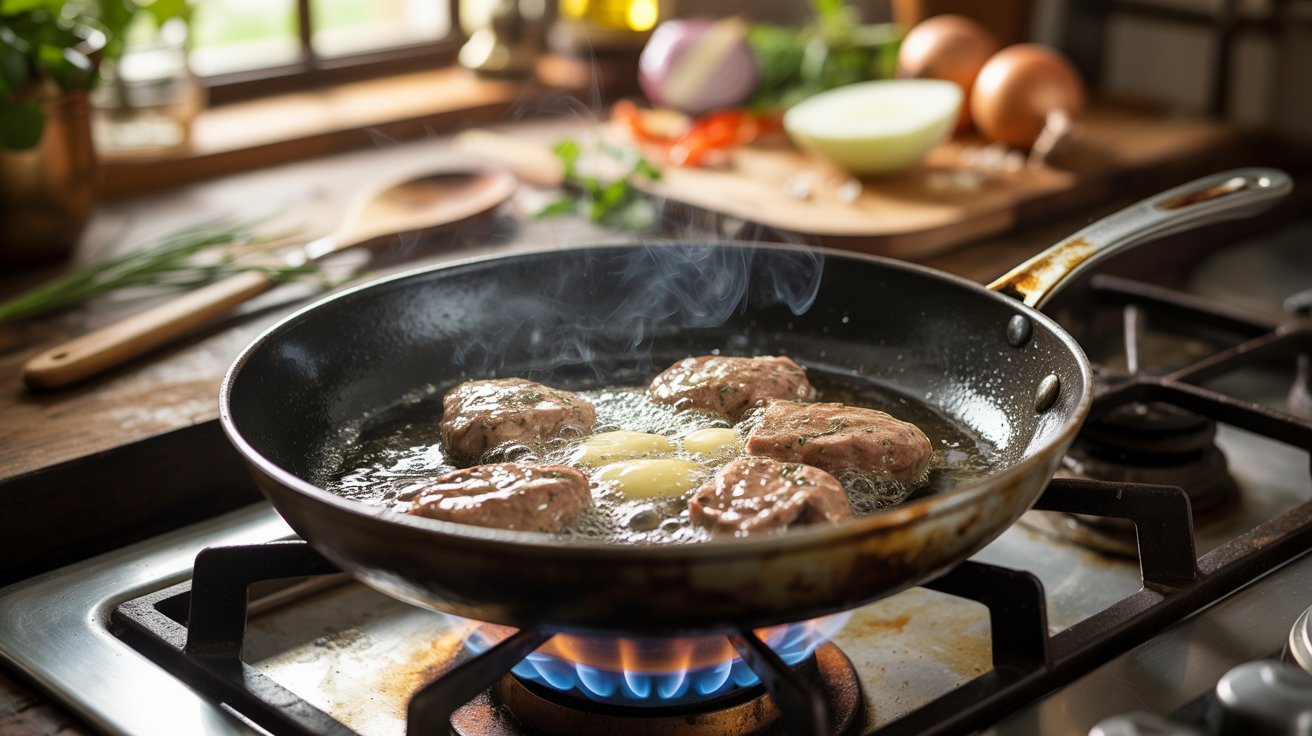
Use a heavy skillet and heat 2 to 3 tablespoons of oil or butter over medium-high heat until it shimmers. Test the heat by dropping a pinch of flour in the pan.
If it sizzles right away, you are ready to start frying.
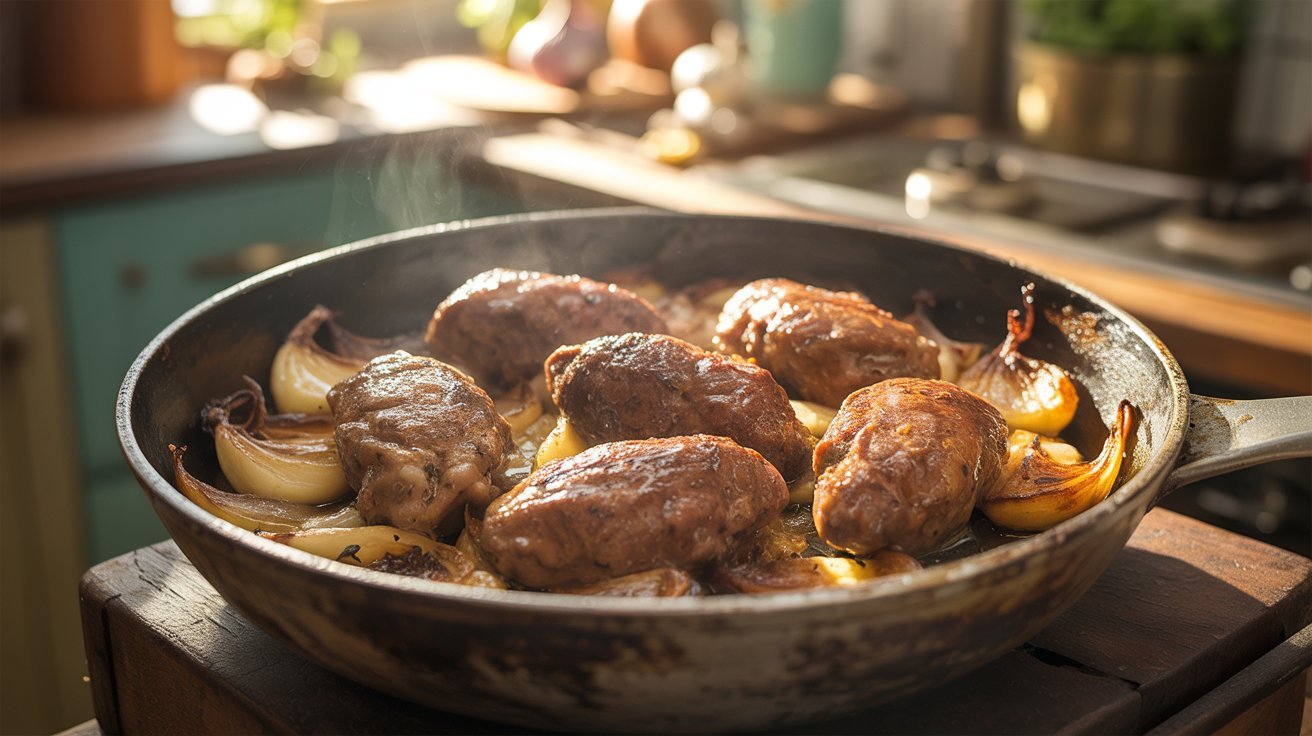
Step 4: Cook the Chicken Livers
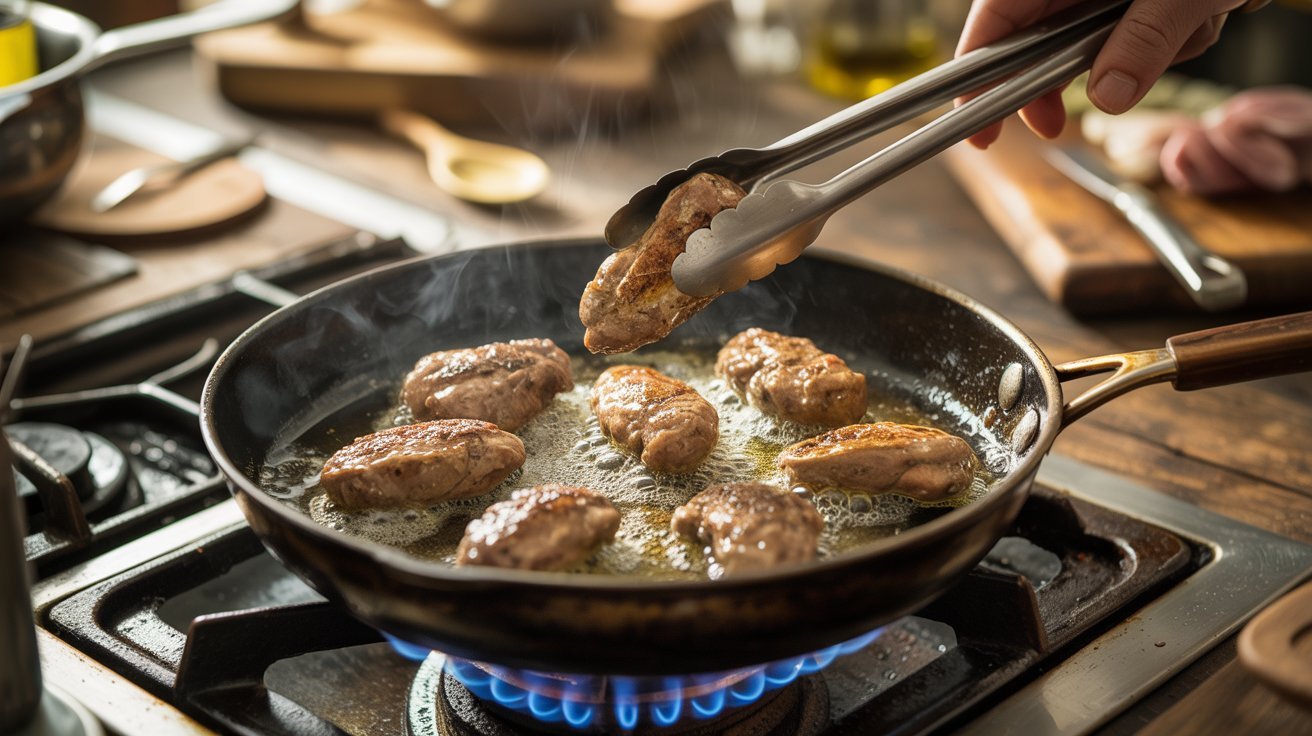
Place the coated livers in the pan in a single layer with space between each piece. Cook for 4 to 5 minutes total, turning once when the bottom is golden brown.
Stay close to the pan because these cook fast and overcooking makes them dry inside.
Step 5: Drain and Rest Before Serving
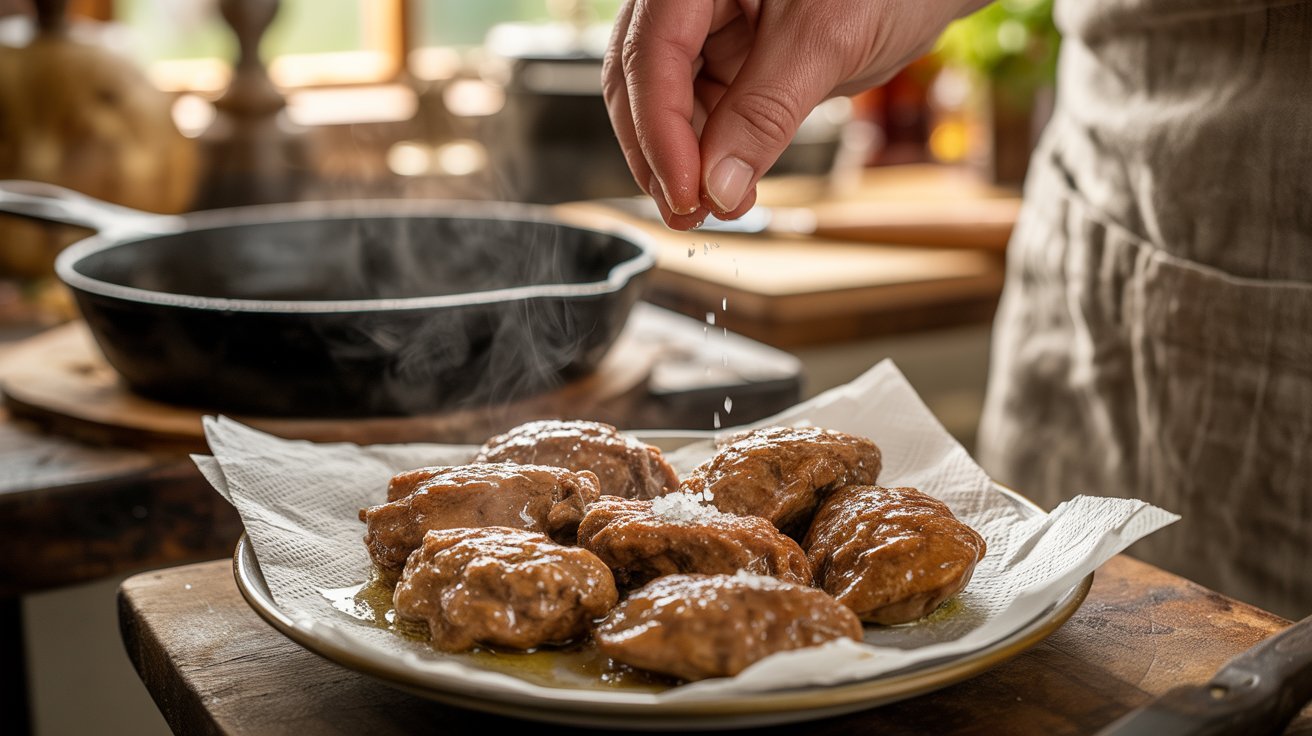
Move the cooked livers to a plate lined with paper towels to remove extra oil. Let them rest for 1 to 2 minutes before serving.
Add a small pinch of salt right after they come off the heat to bring all the flavors together.
Pan Fried Chicken Livers with Flour
Flour coating is the simplest and most reliable way to get a golden, crispy crust on chicken livers.
Why Use Flour for Coating
Flour creates a light, even crust the moment it hits hot oil. It locks in moisture so the inside stays tender while the outside turns golden and crunchy.
This is the method I rely on most because it works consistently every single time.
Tips for Extra Crispiness
Double dredging gives you a thicker, more durable crust that holds up well after resting. After coating, let the livers sit on a dry plate for 5 minutes before frying.
This short rest helps the coating set properly and stick better once it hits the hot oil.
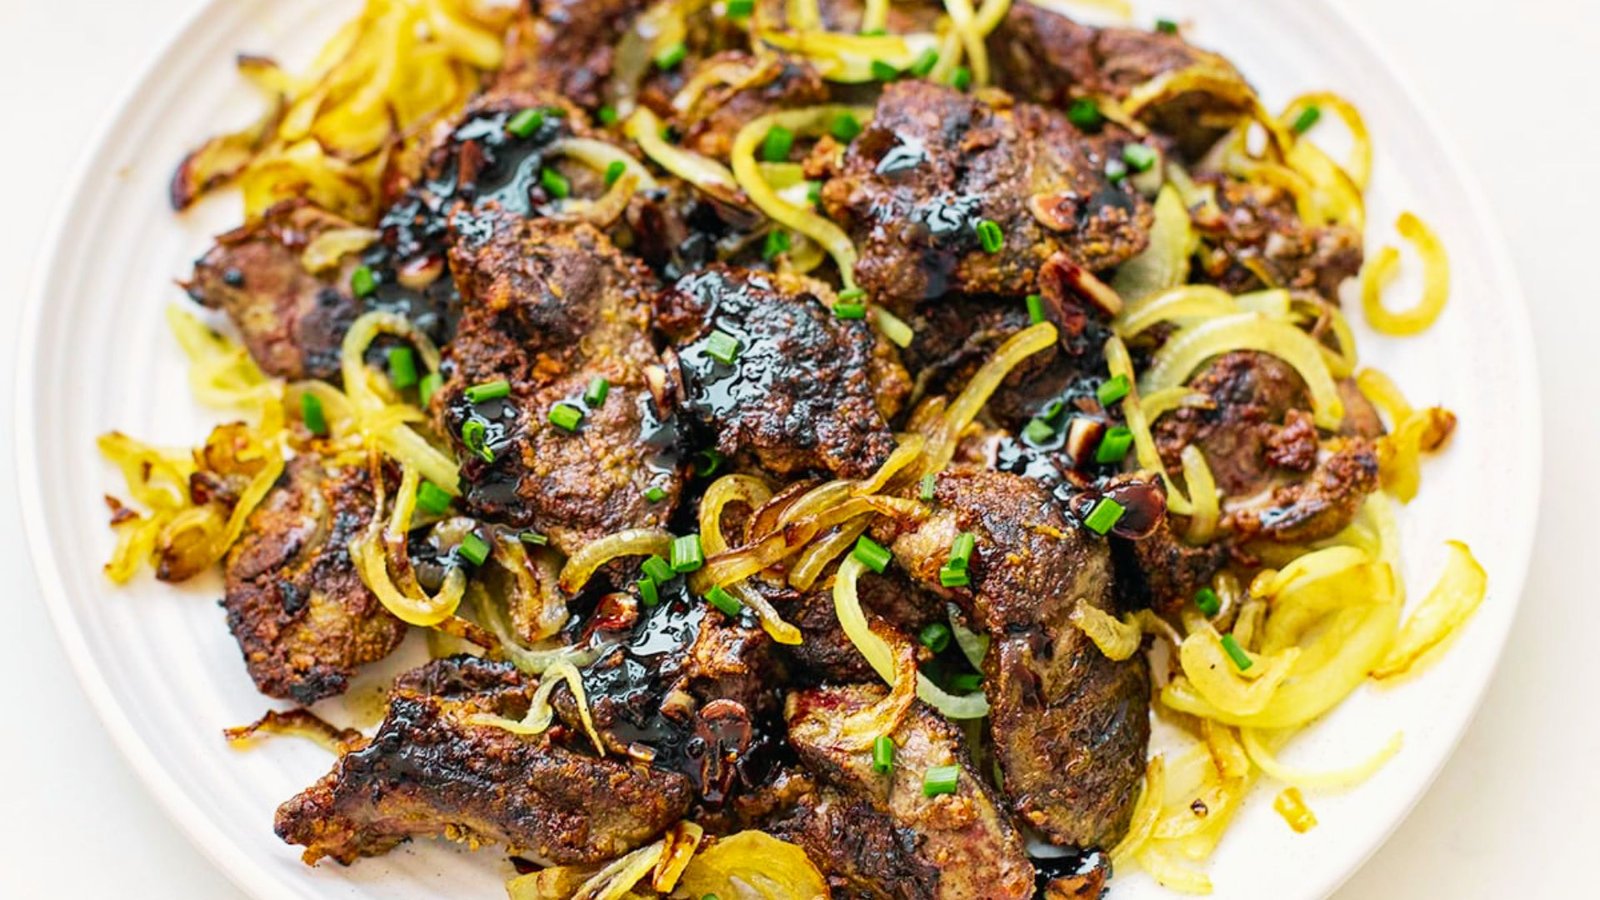
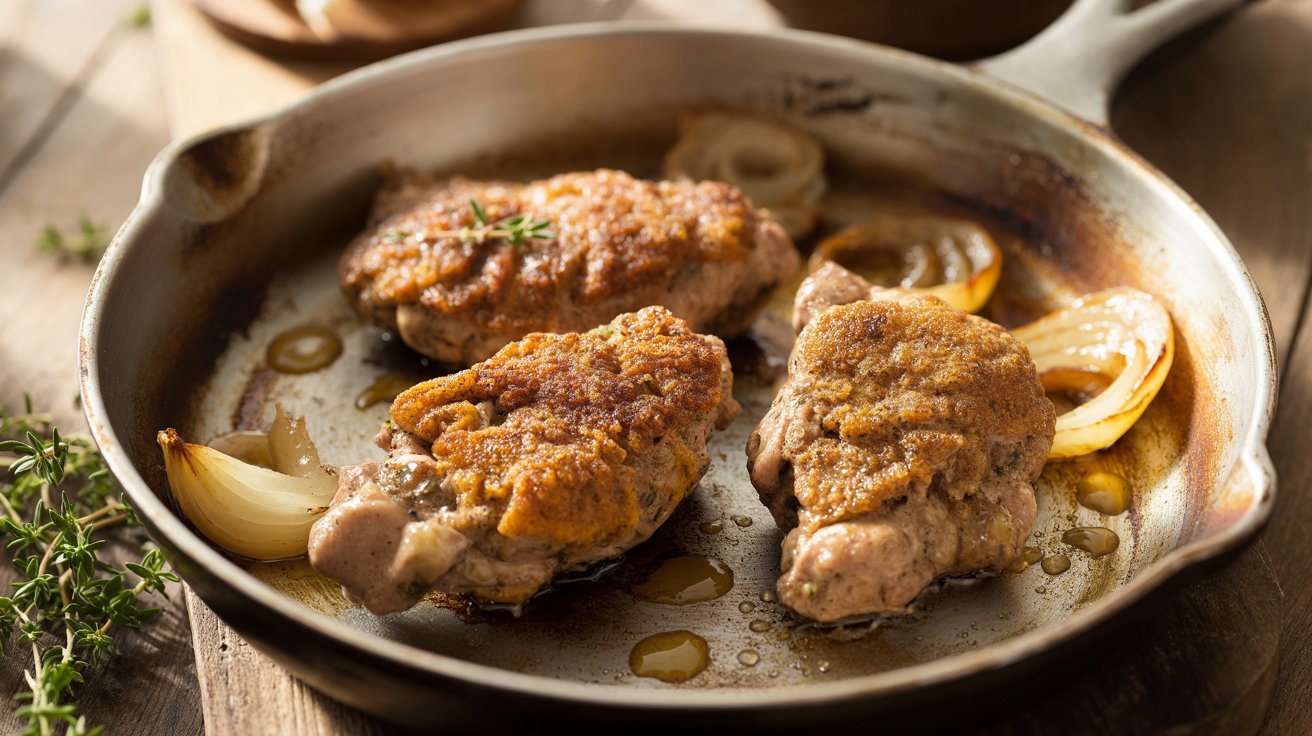
Pan Fried Chicken Livers with Onions
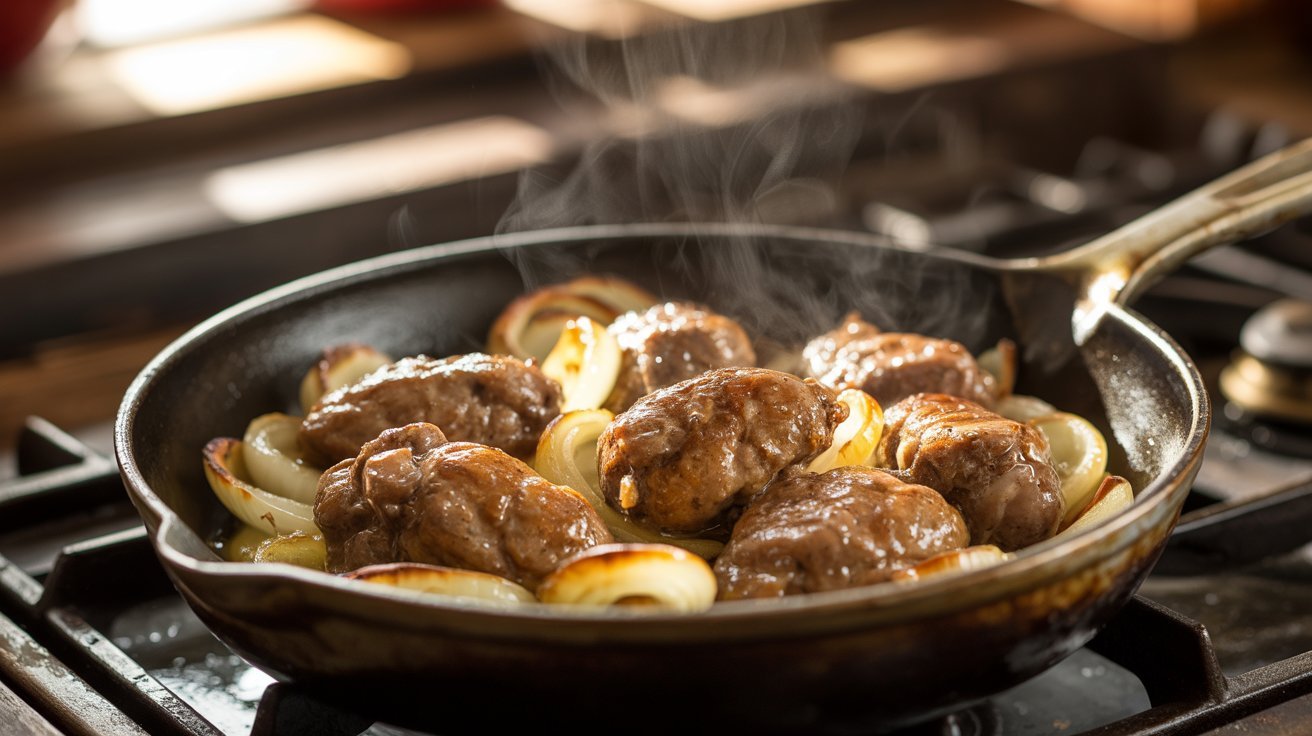
Onions bring sweetness and depth to this dish that make every bite more satisfying and well-rounded.
How to Cook Onions with Chicken Livers
You can cook the onions separately and spoon them over the finished livers, or cook them first in the same pan, remove them, fry the livers, and bring everything together at the end.
The second method adds more layered flavor since the livers pick up the onion-infused oil left in the pan.
Flavor Tips for Best Results
Cook sliced onions over medium-low heat for 15 to 20 minutes until they turn golden and sweet. Don't rush this step as caramelizing takes time but makes a real difference.
Toss the onions gently with the finished livers so the sweetness balances out the bold, savory flavor.
Tips for Perfect Pan Fried Chicken Livers Every Time
A few smart habits in the kitchen will give you consistent, great results with this dish.
- Use a cast iron skillet for even heat and a better, more consistent crust on every piece.
- Cook in small batches so the pan stays hot and the livers fry properly instead of steaming.
- Keep the heat at medium-high throughout. Adjust slightly if needed but don't let it drop too low.
- Let the coated livers rest for 5 minutes before frying so the coating sets and sticks better.
- Serve immediately after draining. The crust softens quickly, so get them to the table while still hot.
Conclusion
I'll be honest, pan fried chicken livers were not something I expected to love as much as I do now.
The first time I got the coating crispy and the inside perfectly tender, I was hooked. This dish is simple, fast, and genuinely delicious.
Try the onion version, experiment with your seasoning, or go all in with butter. You'll find what works for you.
If you give this recipe a go, drop a comment below and tell me how it turned out. Share this post with a friend who loves to cook.
Frequently Asked Questions
How do you know when chicken livers are done?
Chicken livers are done when the outside is golden brown and the inside is no longer pink. The internal temperature should reach 165°F (74°C) for safe eating.
Why soak chicken livers in milk before frying?
Soaking in milk reduces the bitter flavor that many people find too strong in raw liver. It also softens the texture, making the livers more tender after cooking.
Can you make pan fried chicken livers without flour?
Yes, you can skip the flour and fry them plain, or use alternatives like cornmeal or breadcrumbs instead. The texture will be slightly different but they will still taste great.
How do you keep chicken livers tender and juicy?
The key is to avoid overcooking them. Fry on medium-high heat for 4 to 5 minutes total and remove them from the pan as soon as they are done. A short rest after cooking also helps.
Can you reheat pan fried chicken livers?
Yes, reheat them in a skillet over medium heat for 2 to 3 minutes. Avoid the microwave because it makes the coating soggy and the inside rubbery.